Step-by-Step Guide to Hook Up a Trailer
Introduction
Hooking up a trailer may seem simple, but following each step correctly is crucial for a safe journey. Below is a comprehensive guide on how to properly connect a trailer to your vehicle, ensuring safety throughout the process.
Step-by-Step Guide to Hook Up a Trailer
Step 1: Position the Vehicle
Align your vehicle with the trailer. Make sure the trailer is on level ground and the vehicle is straight in front of it.
Step 2: Lower the Hitch
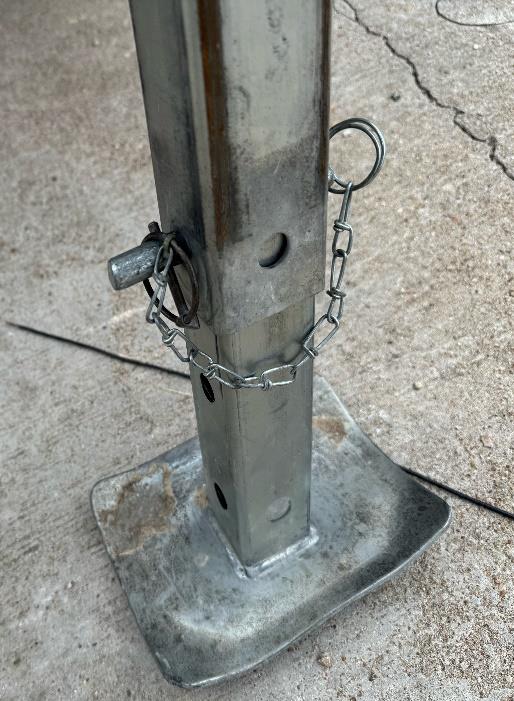
Use the trailer jack to lower the hitch onto the ball on your vehicle’s hitch receiver. Ensure the hitch coupler is open to fit over the ball. If the trailer has an extendable leg on the jack, make sure it is raised all the way back up inside the jack. They are normally held in place with a pin and lock pin or they will have a spring-loaded pin to hold them in place.

Pin with Lock Pin
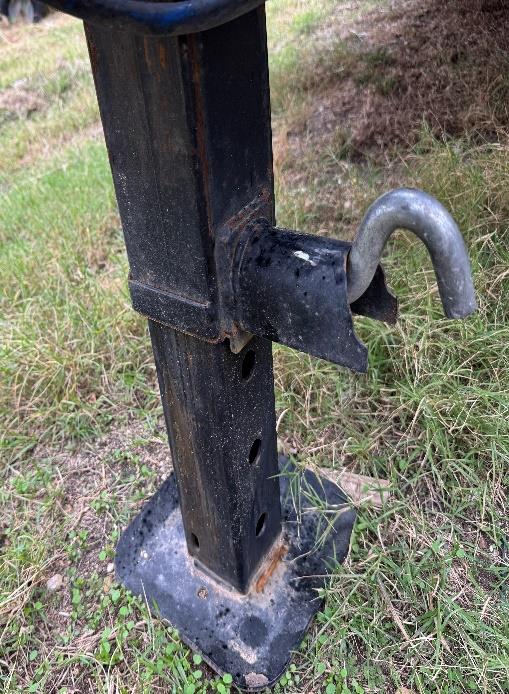
Spring Pin
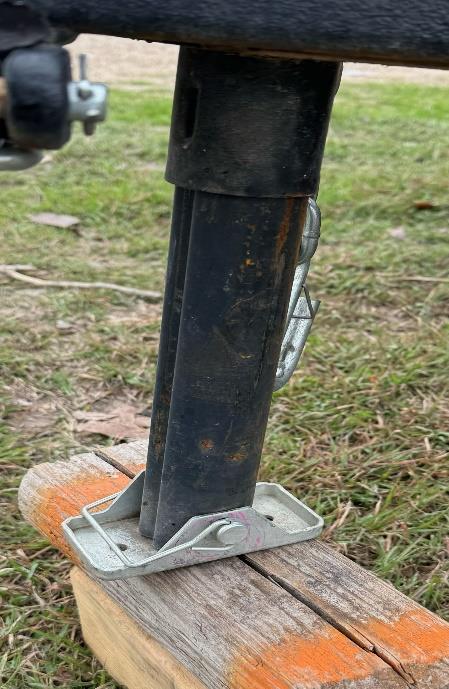
Non-Extendable Leg
Step 3: Secure the Hitch
Once the hitch is on the ball, close the coupler latch. Some trailers have a pin or lock to secure the latch; make sure it’s in place.
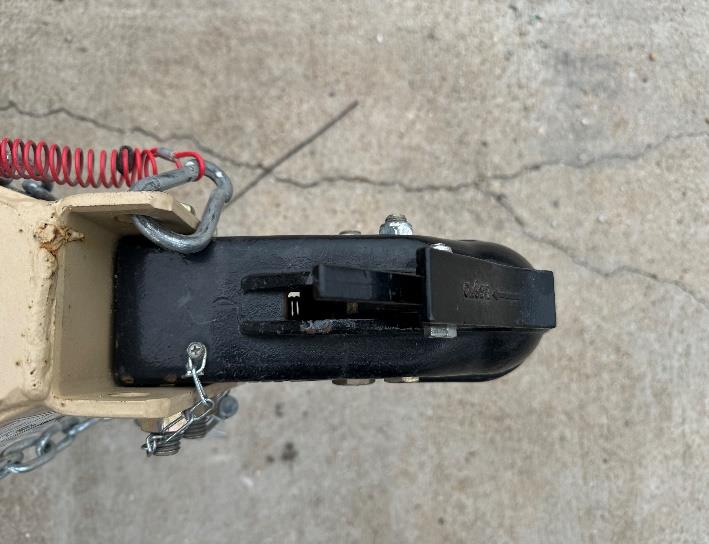
Latch Pin
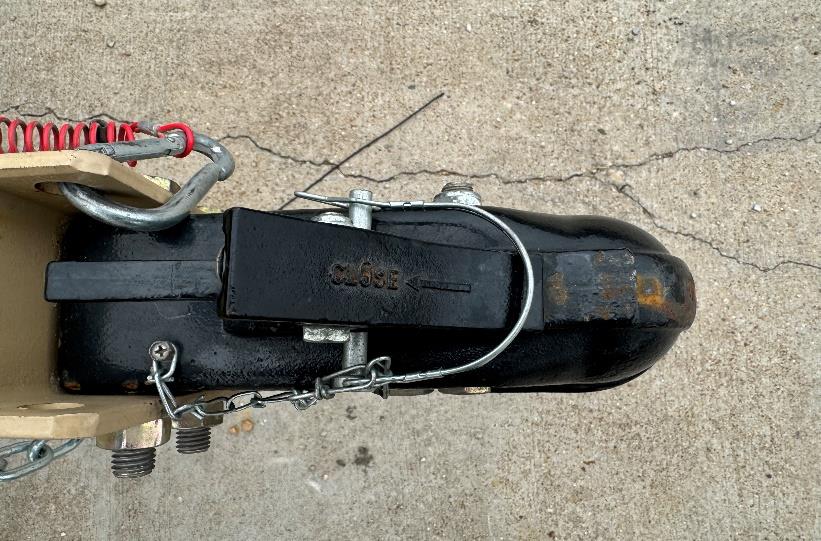
Securing Hitch
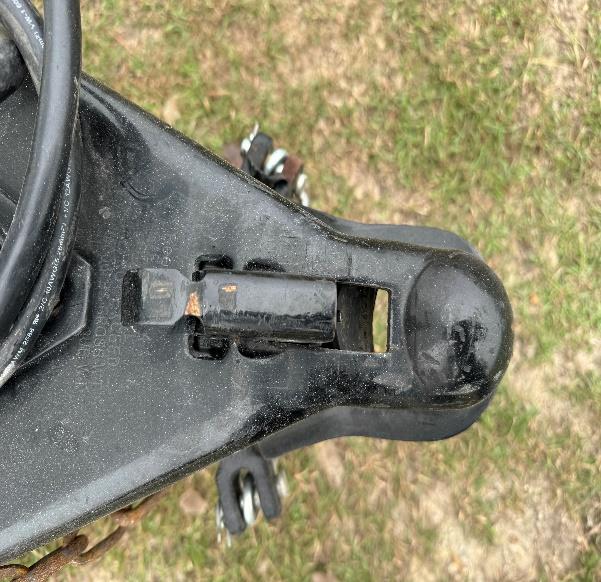
Coupler Latch
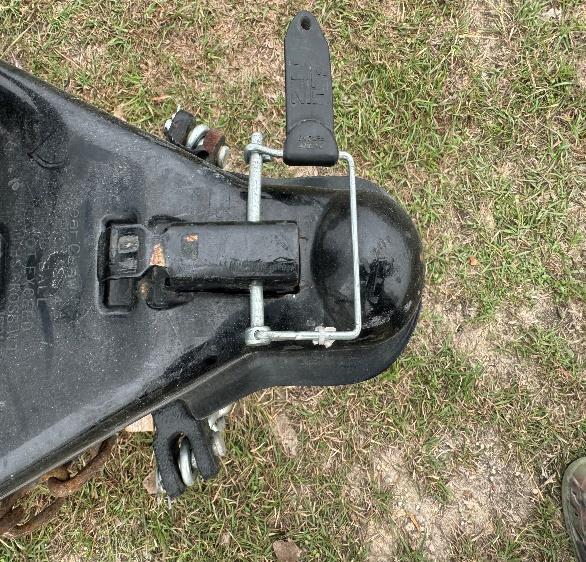
Locked Position
Step 4: Attach Safety Chains and Break-away Cord
Cross the safety chains underneath the hitch and attach them to the vehicle’s hitch loops. The crossing of the chains helps catch the tongue if it falls. Attach the trailer break-away cord to the loops as well, not to the chain. In the event the hitch comes off, it will activate the trailer brakes.
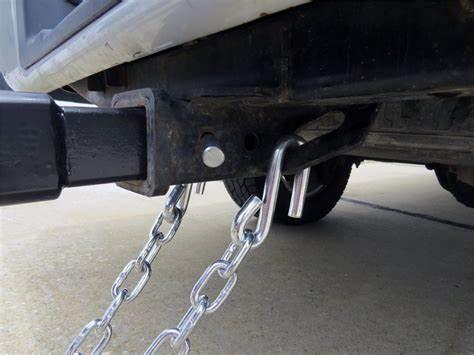
Safety Chains Crossed
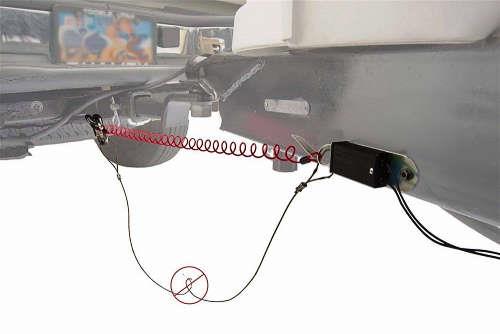
Break-away Cord Attached
Step 5: Connect the Electrical Plug
Plug the trailer’s electrical connector into your vehicle’s socket. This connection powers the trailer’s lights, signals, and brakes.
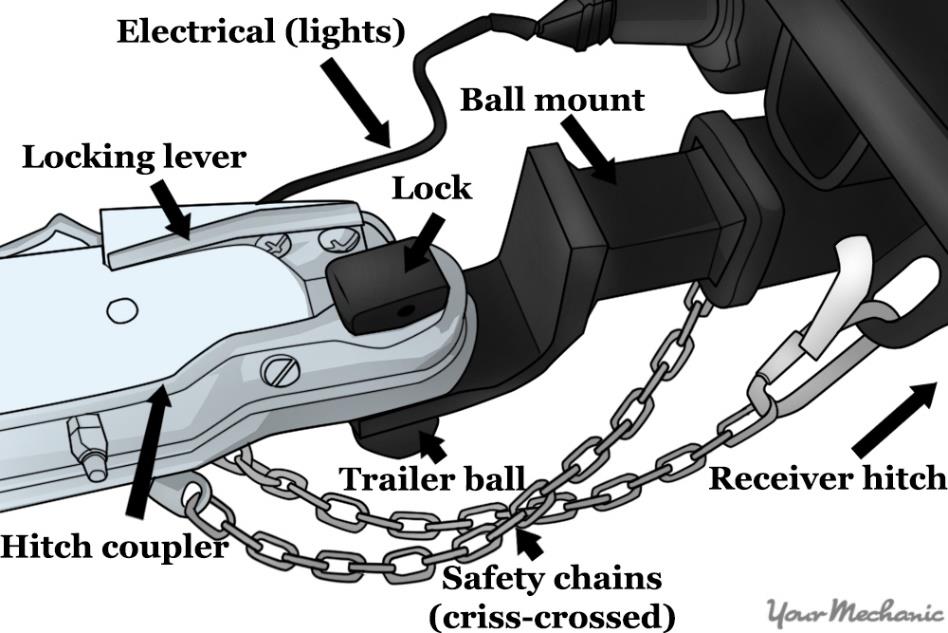
Step 6: Check Lights and Signals
Turn on your vehicle headlights to check the trailer running lights. Use left and right turn signals to check the turn signals on the trailer. Then have one person stand behind the trailer and push on the brake to check the trailer brake lights.

Step 7: Raise the Jack
Fully retract the trailer jack so it doesn’t drag on the ground while driving.
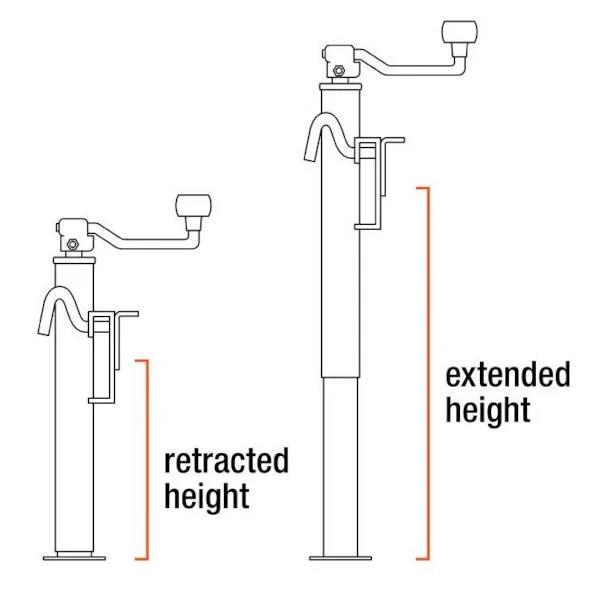
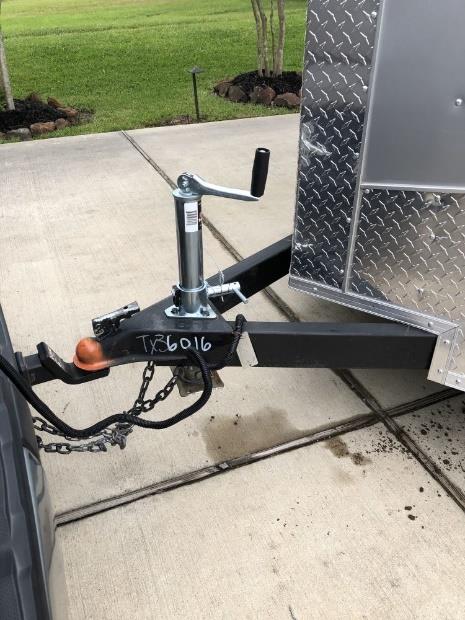
Step 8: Final Check
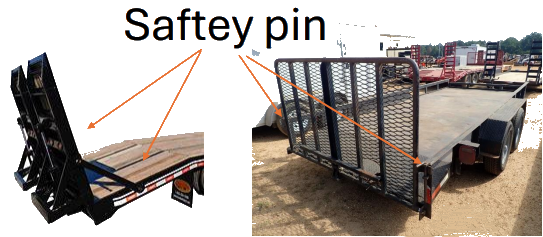
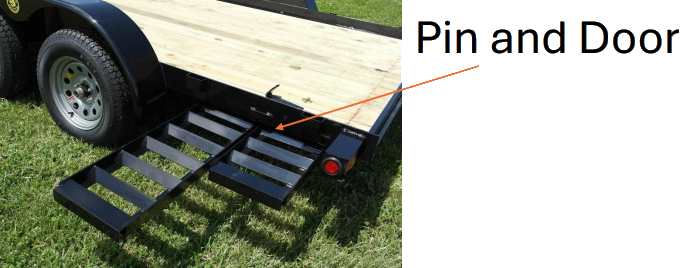
Walk around the trailer one last time to ensure everything is secure and properly connected. Remove any wheel chocks around the trailer tires. If you are pulling an enclosed trailer, ensure all doors are closed and latched. If the trailer has ramps, make sure they are properly secured either by door and pin or safety pins at both top and bottom if the ramps fold up.
**Editor's Note: Brad has graciously created a downloadable PDF of this article for you.
For more information, contact Blue Bonnet Trailer Rentals at:
www.BlueBonnetTrailerRentals.com
About the Author:
Brad Reneau, owner of Blue Bonnet Trailer Rentals & Blue Bonnet RV & Trailer Repair, has established a reputable business known for its reliable trailers and excellent customer service. Since founding Blue Bonnet Trailer Rentals, Brad has successfully managed 215+ trailer rentals, ensuring that each customer receives the perfect equipment for their hauling needs. Brad also has several years of towing and wrecking experience, which has provided him with the expertise needed to help customers select the best trailer for any situation. Blue Bonnet Trailer Rentals offers a wide variety of trailers, making it easy for customers to find the ideal solution for any project, big or small. For more information on Brad's trailer rental services, visit BlueBonnetTrailerRentals.com; For repair and service inquiries, visit: Blue Bonnet Repairs


